
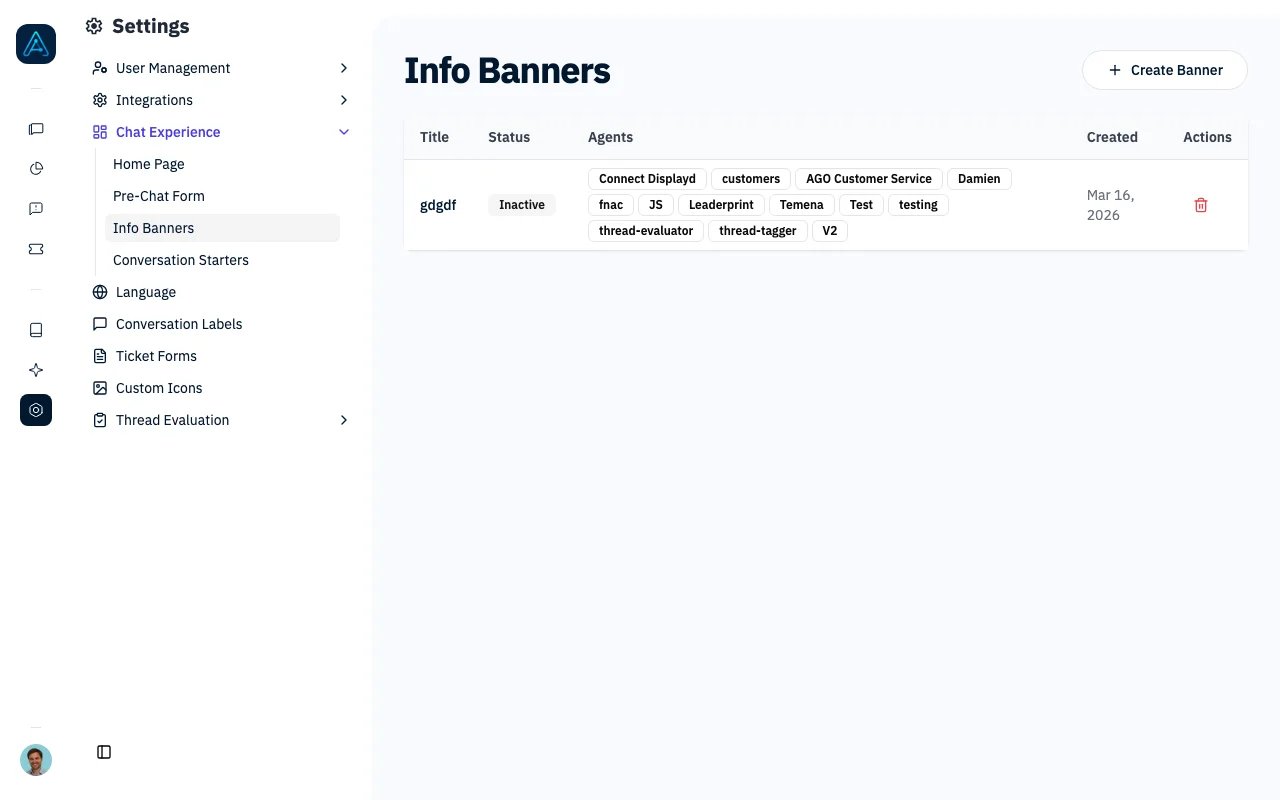
Incident Info Banners
How It Works
- An administrator creates a banner with a title, user-facing message, and optional detailed document content.
- The banner is assigned to one or more agents.
- When activated, the banner appears in the chat interface for users interacting with those agents.
- The document content is injected into the agent’s system prompt, giving the agent full context about the situation.
- When no longer needed, the administrator deactivates or deletes the banner.
Creating a Banner
Navigate to Settings > Info Banners in the admin panel and click Create Banner.General Settings
Agent Assignment
Select which agents this banner applies to. Only users interacting with the selected agents will see the banner. If no agents are selected, the banner will not be displayed to any user or injected into any agent prompt.Managing Banners
From the Settings > Info Banners list page, you can:- View all banners with their status, assigned agents, and last update time.
- Edit a banner by clicking on its row.
- Delete a banner using the delete action.
- Toggle activation by editing the banner and switching the Active/Inactive toggle.
Use Cases
- Service outages: Inform users that a specific service is down and provide the agent with instructions on how to respond to related queries.
- Scheduled maintenance: Warn users in advance about planned downtime and give the agent details about timing and impact.
- Known issues: Alert users about a known bug and equip the agent with workaround instructions.
- Policy changes: Communicate temporary policy changes so the agent provides accurate answers accordingly.