
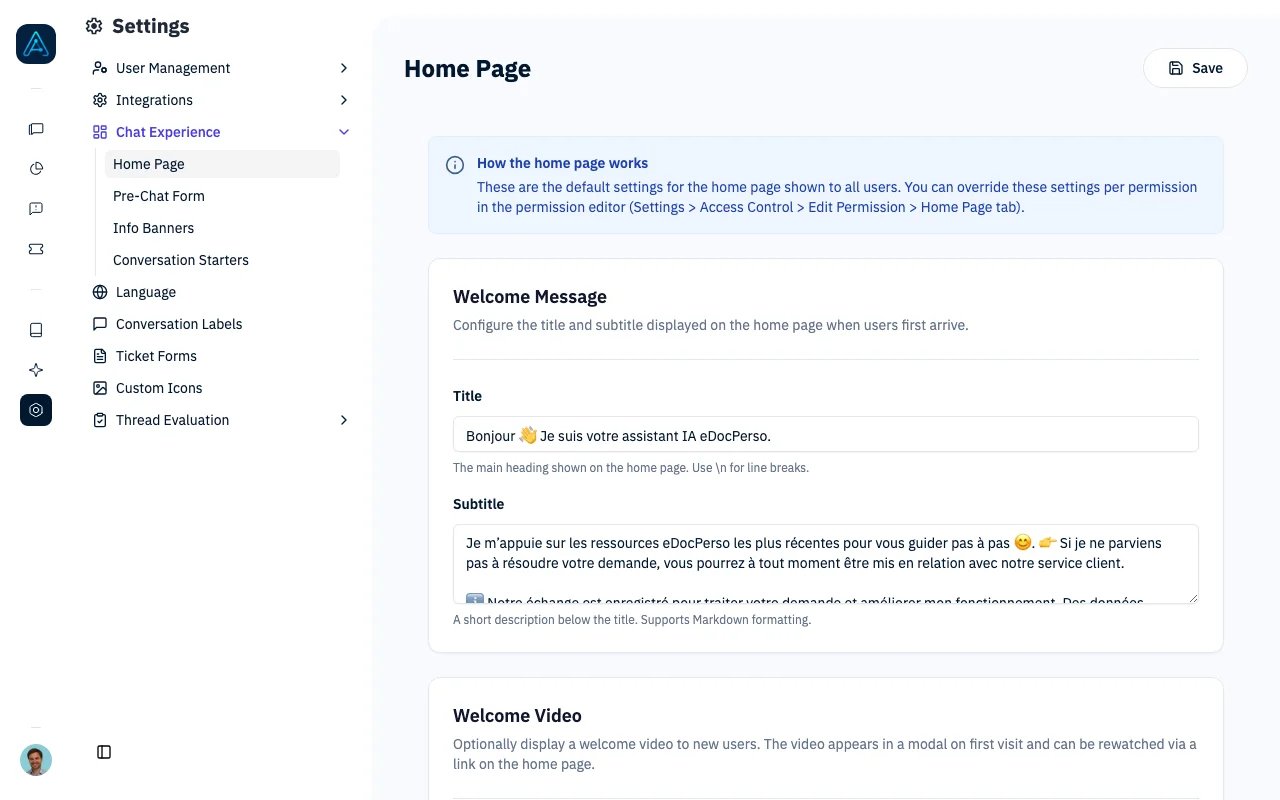
Homepage Agent Selection
Overview
When enabled, this feature displays a grid of available agents on the homepage, allowing users to:- Browse available agents with their icons and names
- Select an agent by clicking on it
- Start typing their message with the selected agent pre-configured
Prerequisites
System Requirements
- AGO platform deployed and accessible
- Admin access to configure settings
Configuration Required
- At least one active agent configured
- Agent display order configured (optional)
Configuration
Via Admin Interface
- Navigate to Settings → Widget Configuration
- Enable Display Agents Selection Panel
- Configure the heading text (e.g., “How can we help you today?”)
- Set agent display order (optional)
- Click Save
Configuration Fields
Agent Display Order
Control which agents appear and in what order:Setting Agent Order
To set the display order for agents:- Navigate to AI Studio → Agents
- Use drag-and-drop to reorder agents in the list, or
- Edit each agent and set the Order field (lower numbers appear first)
- Click Save
Order Logic
Permission-Based Display
The agents panel respects user permissions:How It Works
Anonymous vs Authenticated Users
Configuring Default Permissions
- Navigate to Settings → Widget Configuration
- Set Default Permissions for anonymous users
- Set Logged-in Default Permissions for authenticated users
- Click Save
When the Panel is Displayed
The agents selection panel can appear in two locations, each controlled by a separate setting:Homepage Panel
Controlled bydisplay_agents_selection_panel. Shown when:
display_agents_selection_panelis set totrue- AND no conversation has started yet (homepage view)
- AND user has access to multiple agents
Chat Panel
Controlled bydisplay_agents_panel_in_chat. Shown when:
display_agents_panel_in_chatis set totrue- AND no agent has been selected yet in the current session
- AND no message is currently loading
- AND user has access to multiple agents
Note: If the user only has access to one agent, that agent is auto-selected.
User Experience
1. Homepage Display
When users visit the homepage, they see a grid of available agents below the main title: Layout:- Title: “How can we help you today?”
- Agent Grid: Cards showing available agents (Support Agent, Analytics Agent, Billing Agent, etc.)
- Message Input: Text field to type messages
- Agent icon/avatar
- Agent name
- Agent description (if configured)
2. Agent Selection
Clicking on an agent card:- Highlights the selected agent
- Pre-fills the agent in the message input
- Focuses the input field for immediate typing
3. Visual Feedback
- Selected agents show a highlighted border
- Agent name appears as a mention in the input
- Smooth transition animations
4. Smooth Transition
Users can immediately start typing their message after selecting an agent.Agent Card Display
Card Contents
Customizing Agent Appearance
- Navigate to AI Studio → Agents
- Select the agent to customize
- Configure appearance settings:
- Display Name: User-facing name (e.g., “Customer Support”)
- Icon: Select an emoji icon
- Order: Display position (lower numbers first)
- Click Save
Using Custom Icons
- Navigate to the agent settings
- Click Upload Custom Icon
- Select an image file (PNG, JPG, or SVG)
- Click Save to apply the custom icon
Responsive Design
The agents panel adapts to different screen sizes:Best Practices
Agent Organization
- Limit visible agents: Show 3-6 most relevant agents
- Clear naming: Use descriptive display names
- Distinct icons: Help users differentiate agents visually
- Logical ordering: Place most-used agents first
Heading Text
- Be welcoming: “How can we help?” is better than “Select an agent”
- Be clear: Users should understand what the options mean
- Keep it short: One line works best
Permission Setup
- Group by use case: Create permissions for different user types
- Default wisely: Anonymous users should see general-purpose agents
- Test thoroughly: Verify correct agents appear for each permission
Troubleshooting
Issue: Panel not appearing
Issue: Panel not appearing
Problem: Agents selection panel doesn’t show on homepage or in chat.Solutions:
- For the homepage panel: verify
display_agents_selection_panel: truein config - For the chat panel: verify
display_agents_panel_in_chat: truein config - Check user has access to multiple agents
- Verify at least one agent is active
- Clear browser cache
Issue: Wrong agents displayed
Issue: Wrong agents displayed
Problem: Users see agents they shouldn’t access.Solutions:
- Review permission configurations
- Check
widget_default_permissionssetting - Verify access control rules
- Test with user impersonation
Issue: Agent order incorrect
Issue: Agent order incorrect
Problem: Agents appear in wrong order.Solutions:
- Verify
orderfield is set on each agent - Use bulk update to set all orders at once
- Check for duplicate order values
Issue: Icons not loading
Issue: Icons not loading
Problem: Custom icons don’t appear.Solutions:
- Verify icon file was uploaded successfully
- Check
custom_icon_idis correctly assigned - Verify image format is supported (PNG, JPG, SVG)
- Check network requests for 404 errors
Related Documentation
- Agents - Agent configuration
- Agent Permissions - Access control
- Widget Configuration - Widget settings
- Access Control Rules - Dynamic permissions