Prerequisites
- Access to an AGO instance (SaaS or self-hosted)
- Admin or staff permissions
- At least one knowledge source to connect (Notion, Confluence, etc.)
1
Connect a Knowledge Source
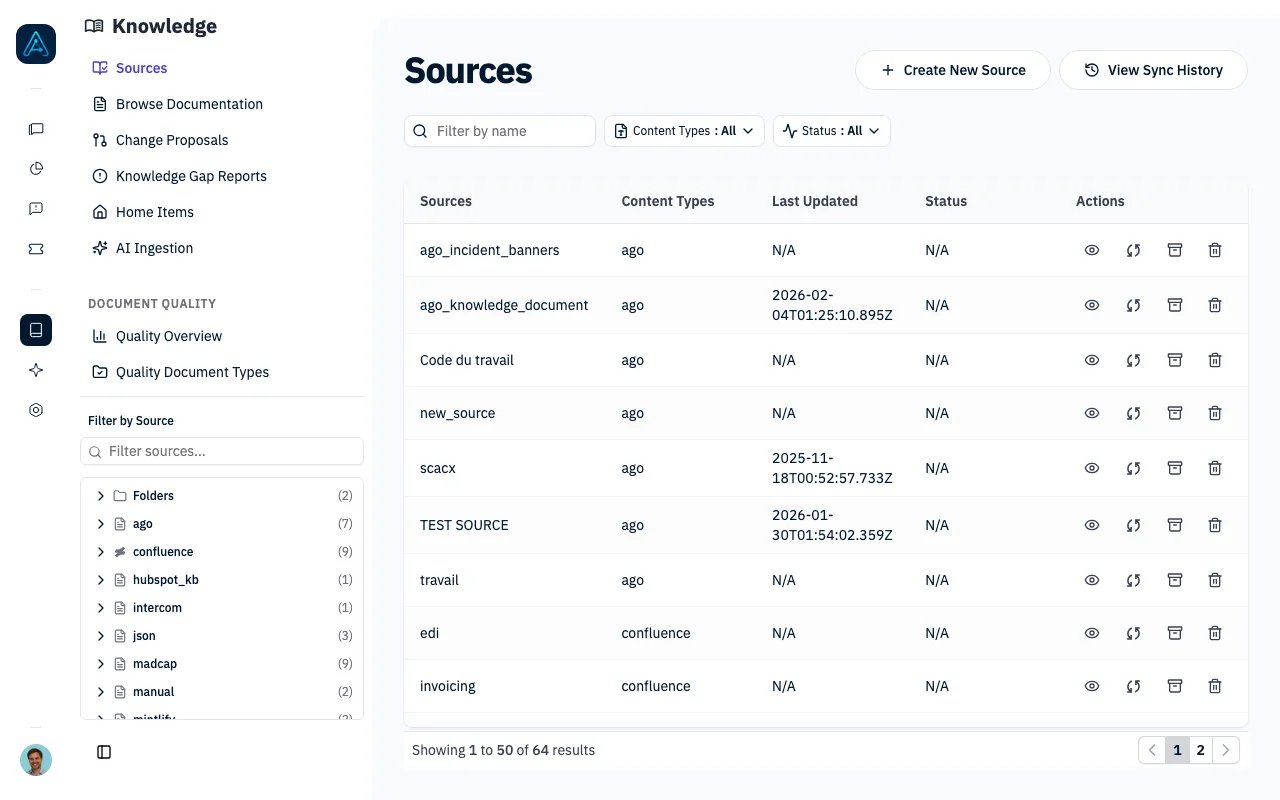
Knowledge Sources
- In the admin sidebar, click Knowledge, then select Sources
- Click Add Source and select your platform (e.g., Notion, Confluence)
- Authenticate and select the content to sync
- Click Save
2
Create an Agent
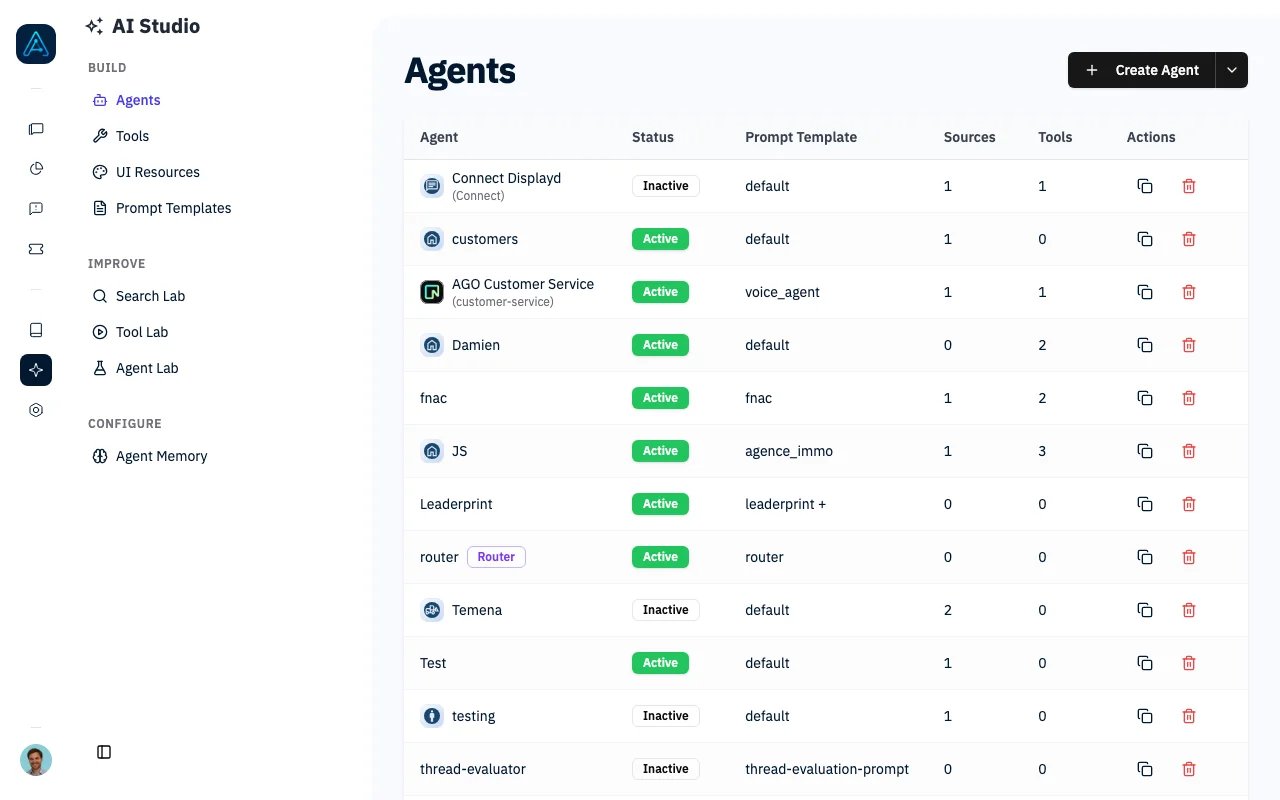
AI Studio - Agents List
- In the admin sidebar, click AI Studio, then select Agents
- Click Create Agent
- Give your agent a Name (e.g.,
support-agent) and a Display Name (e.g.,Support Assistant) - Under Knowledge Sources, select the source you just connected
- Click Create Agent
3
Set Agent Permissions
- In the agent builder, go to the Agent Visibility section
- Under Permissions, select the groups that should access this agent (e.g.,
Default) - Click Save
4
Test Your Agent
- Open the chat interface
- Ask a question related to your knowledge source
- Verify the response includes accurate information with source citations
5
Deploy
Choose how users will interact with the agent:
Widget
Embed the chat widget on your website
Slack
Deploy in a Slack channel
API
Send messages programmatically
SDK
Build a custom UI with the JavaScript SDK
What’s Next?
Continue with Build Your First Agent to learn about prompt engineering, tools, simulation testing, and monitoring.⚠️ WARNING: Before production deployment, configure proper authentication and review access control settings.